Table of Contents
...
Note: Opportunity level mapping requires creation of a ClosePlan. See how to create a ClosePlan here.
Account Level Map
- Navigate to 'Relationships' under any Account:
- To start using Account level Maps, create a new map inside the Account Map list.
- A list of current Account Level Maps is presented in a table format.
- To open the map, click on the Map Name.
...
| Drawio | ||||||||||||||||||||||||||||||||
|---|---|---|---|---|---|---|---|---|---|---|---|---|---|---|---|---|---|---|---|---|---|---|---|---|---|---|---|---|---|---|---|---|
|
Access to Account and Opportunity level map list related to the Account
- + Add - Creates a new Account level Relationship Map
- Access to Organigram
- Clears filters, toggles to full screen or exports list as XLS
- Refreshes the map list
- Click on the column header object (Name, Primary,..) to rearrange the data
- Applies Filters - set, apply or clear filters
- Shows number of Stakeholders in the map
- Edits map name and sets map as Primary or Deployed
- Deletes the map
...
| Drawio | ||||||||||||||||||||||||||||||||
|---|---|---|---|---|---|---|---|---|---|---|---|---|---|---|---|---|---|---|---|---|---|---|---|---|---|---|---|---|---|---|---|---|
|
- + Add Add a contact to the Opportunity Stakeholder List
- Display the map for drag and drop functionality
- Import Data or Delete All Records
- Shows % progress of Stakeholders Role Goals
- # of Economic Buyers present / goal
- # of Procurement Stakeholders present / goal
- Click on the column header object (Name, Reports To, etc..) to rearrange the data
- Click on Name to open Stakeholder Overview
- Inline editing for key attributes
- Edit Stakeholder
- Delete Stakeholder
...
Stakeholder Layout & Navigation
The following describes the relevant components and related navigation.
Drawio simple 0 zoom 1 inComment 0 custContentId 1967620191 pageId 903774217 diagramDisplayName Stakeholder layout.xml lbox 1 contentVer 1 revision 4 baseUrl https://tspcinc.atlassian.net/wiki diagramName Stakeholder layout.xml pCenter 0 width 599.65 links tbstyle height 641
- Contact Photo - Upload/change/delete a photo or url link.
- Stakeholder Name - Opens a new window with contact information.
- Title - Title
- Company - Account Name / Company Name
- Address - Opens the location in google maps.
- Role - Indicates the Stakeholder's role in the buying process.
- Relationship - Indicates the depth of the relationship.
- Decision Status - Indicates the Stakeholder's status in the decision making process.
- Support Status - Indicates the depth of relationships between Stakeholders.
- Detail Tab - Display Stakeholder information.
- Actions Tab - Add tasks
- Notes Tab - Add relevant notes about the Stakeholder.
- Covered By - Indicates the person from your organization responsible for this stakeholder.
Note: The 'Covered By' tab is only visible on Opportunity level Relationship Maps. If this field is not displayed, it has been disabled in the Admin Settings. - Contacts - Key Stakeholder contact attributes.
- About Stakeholder - Provides an overview of the Stakeholder, including goals and background.
- Additional Contact Fields - Displays additional Stakeholder attributes provided by your organization.
- Edit - Edit Stakeholder information.
- Delete - Delete Stakeholder.
...
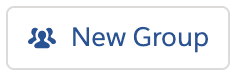
- Open Contacts and Stkeholders icon

- Click on New Group
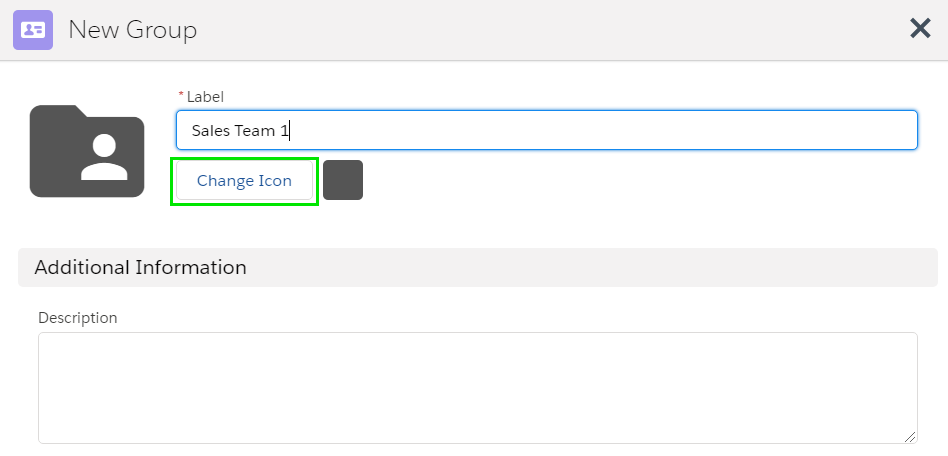
- Enter the name of the group
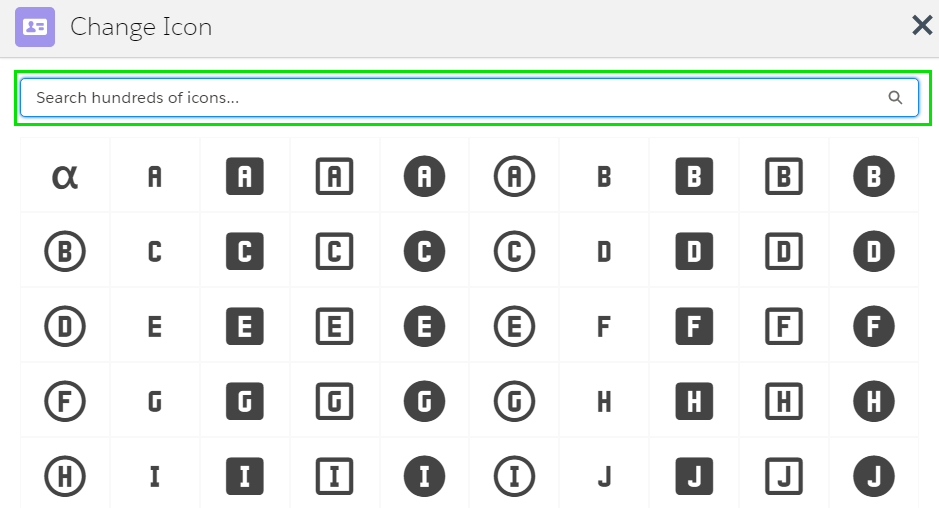
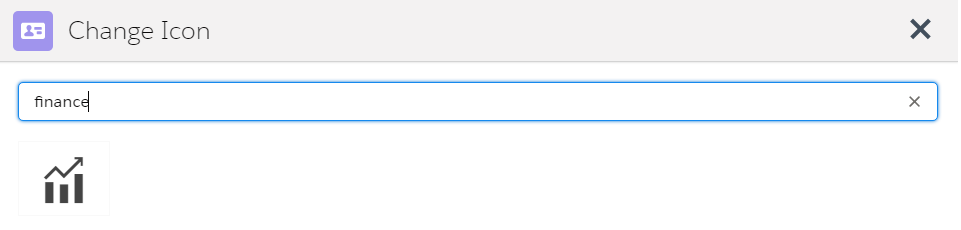
- To select icon for your group click on Change Icon

- Select icon or search your icon from the search hundreds of icons window and Save


Users can select the color and/or add a description.

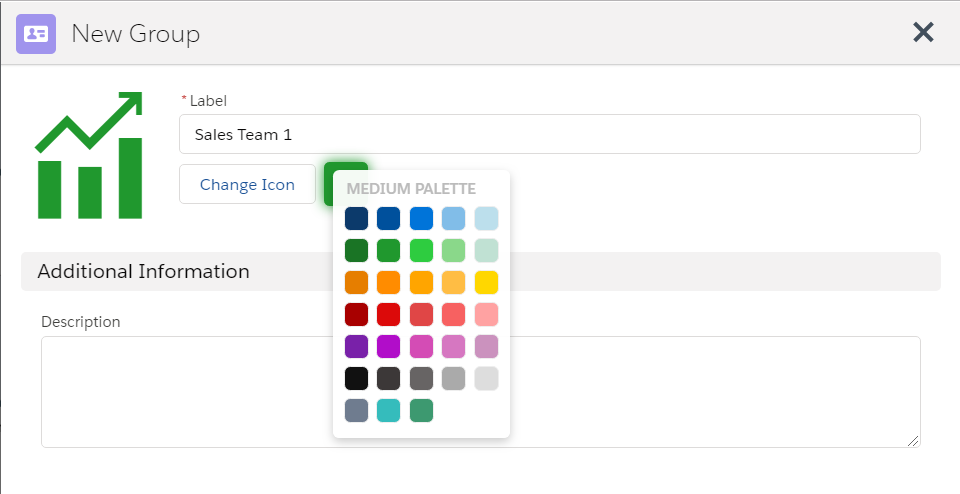
Click Save
Group will be automatically add to the map
- To move the group right or left, open the group pallete menu
...
Hide or discplay existing Lines and Flags
Hiding or displaying existing Lines and Flags is done from the main relationships map page.
Click the
 icon on the right side of the Map surface
Toggle to display or hide lines or flags
- Note: Deselecting individual flags from the Stakeholder node must be done from the ClosePlan admin tab > Environment > Relationships > Fields
...